
Getting Started with Cobalt Strike
Getting Started with Cobalt Strike Cobalt Strike is a really popular tool for penetration testers and red teamers giving C2 and many other …
In the previous post we saw some very basic things for the Cobalt Strike tool. If you are familiar with the tool you can follow on as we will proceed with the persistence process. In case you are not go to the previous post.
In order to achieve persistence we will use the StayKit by 0xthirteen as it is the simplest way I found so far.
First we need to dowload the SharpStay – .NET Persistence from the following link https://github.com/0xthirteen/SharpStay
and compile for release with the usage of Visual Studio.
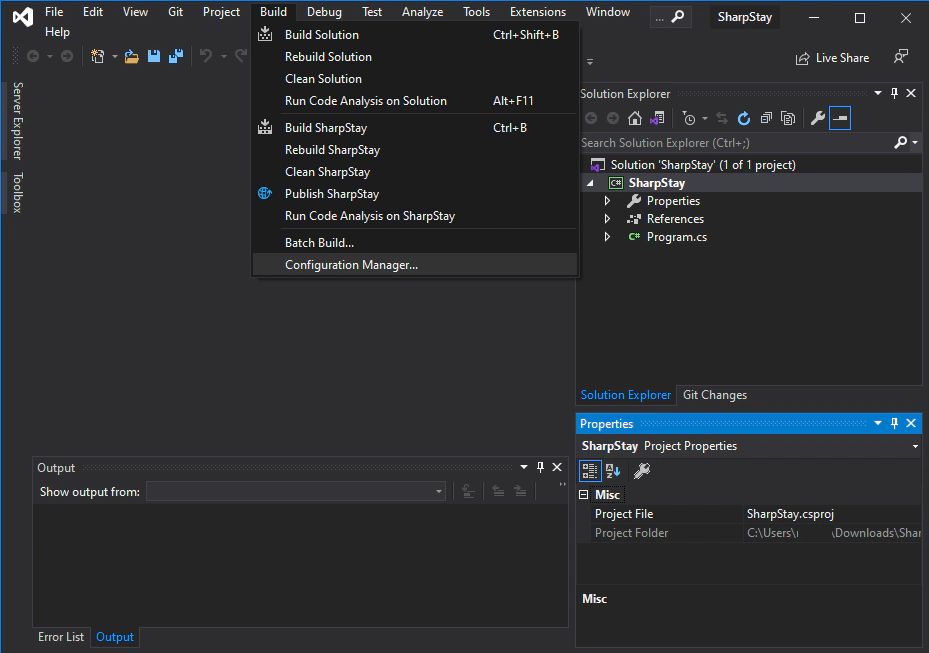
We open the SharpStay.sln as usual with the Visual Studio. In order to compile for release go to “Configuration Manager…” as shown in the picture below.
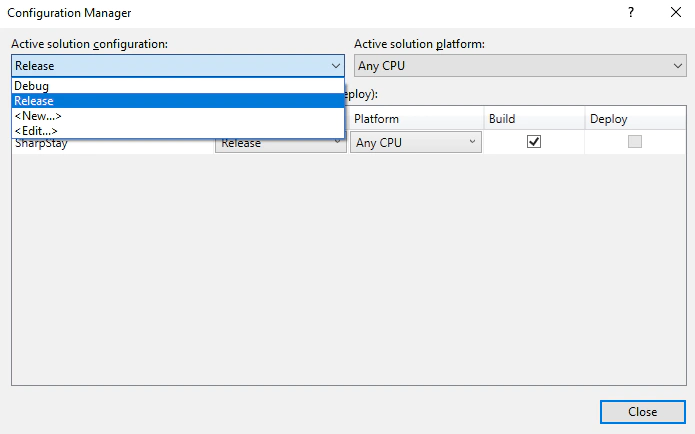
From the dropdown menu we select Release and then close.
The last step is to press Ctrl+Shift+B in order to build the solution or from the menu Build the Build Solution option.

Inside the SharpStay-master\SharpStay\SharpStay\bin\Release you will find the SharpStay.exe file that we need in order to proceed further.

Now that we have the SharpStay ready we need to place the SharpStay.exe inside the StayKit folder.
Download the kit from the following link
https://github.com/0xthirteen/StayKit
and place the files to an easily accessed folder. In my case the desktop and copy the SharpStay.exe file inside.
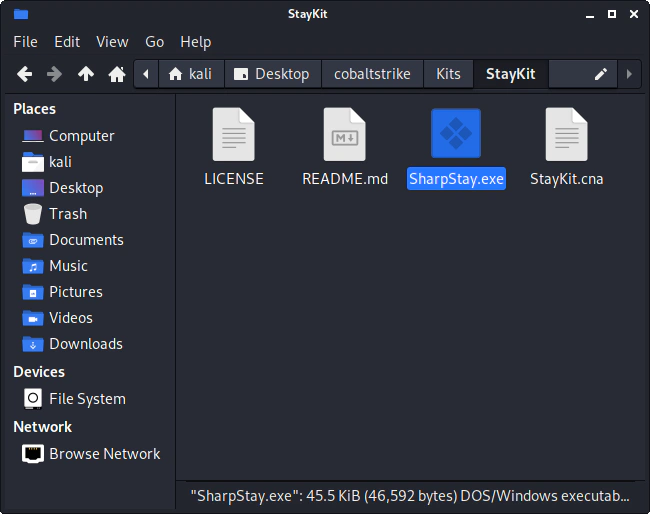
The StayKit is now ready to be imported to cobalt strike.
In order to import the kit we select from the Cobalt Strike menu the Script Manager option.
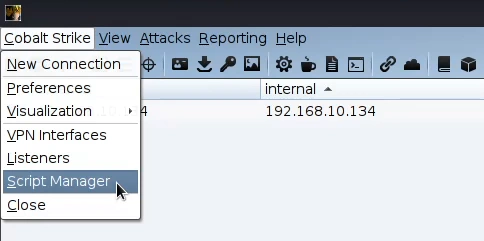
From the bottom of the window we select the Load option

From the window that opens we select the StayKit.cna.
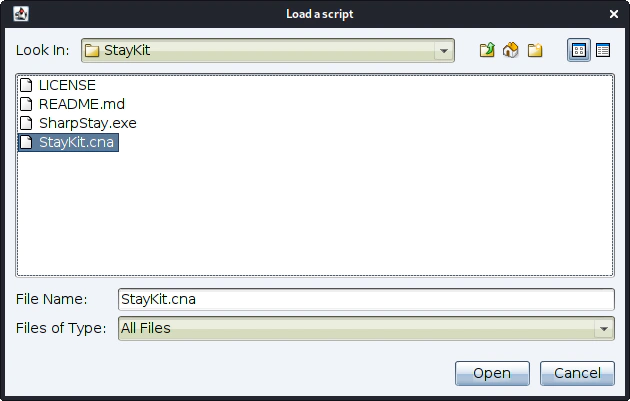
The script is now ready.

In order to use the StayKit we have to generate a exe payload to use.
From the Attacks menu we select Packages and then Windows Executable.
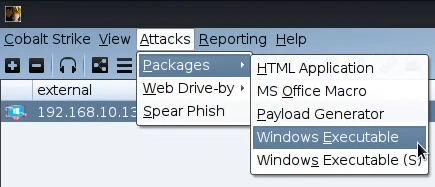
Then we select the listener that we want to use and press Generate
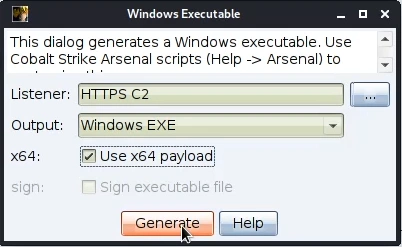
Place the file to an easily accessed folder.
We should be able to see an new menu every time we right click on an active beacon.
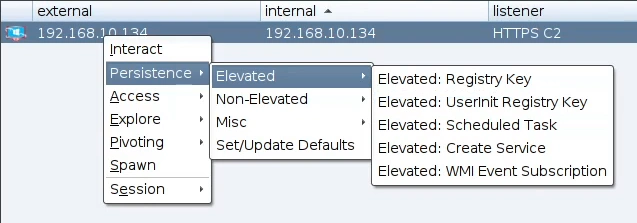

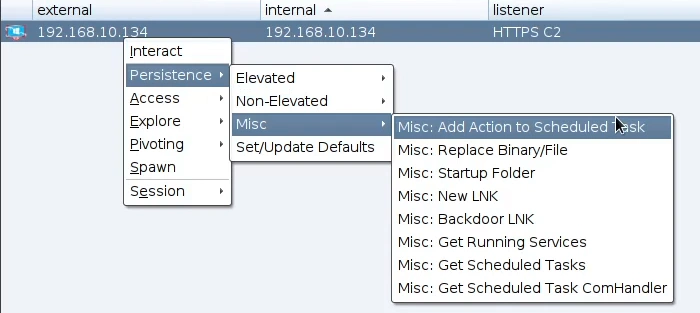
Lets see an example. We will select from the Non-Elevated: Registry UserInitMprLogonScript.

In the following window select the file that we generated earlier in the “Generating an exe payload” section as custom file. In the Command section enter the Drop Location with quotation marks. You can try and see what other commands you can find that are working. For now that is the simplest example. Select the Listener you want and finally press Execute.
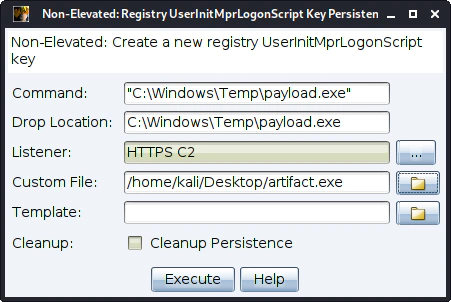
If you see the following message then the process is completed.

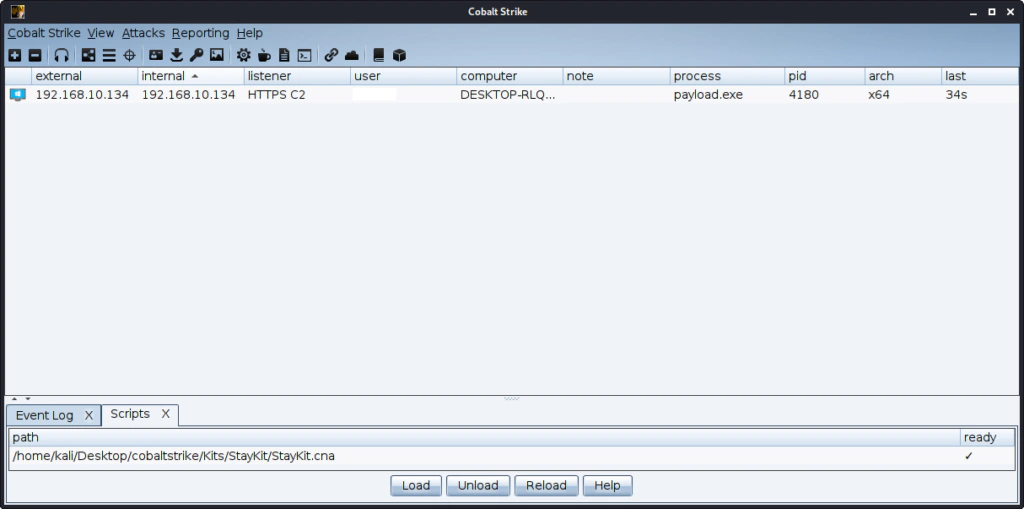
After the system restarts we get the following beacon back. As you can see in the process section we have the file name that we used in the Drop Location previously.

Getting Started with Cobalt Strike Cobalt Strike is a really popular tool for penetration testers and red teamers giving C2 and many other …

Getting Started with Covenant C2 in Kali Linux Covenant is a well known dot.NET command and control framework. Is also an cross-platform application …